Event Day Checklist: How to Run Guest Lists, Check-In and Ticket Checks Without Queues
Plan smooth event check-in with a practical checklist for guest lists, ticket checks, walk-ins and queues—so first-time hosts can welcome guests calmly.
13 min read

On this page
Event Check-In Checklist: How to Manage Guest Lists, Ticket Checks and Queues
Good event check-in comes down to three things: a clean, final attendee list the day before, a simple door setup with a backup for when tech or power fails, and a clear plan for lost tickets and walk-ins. If every guest knows what to bring and where to go, most queues never form. This is the checklist I'd want if I were hosting my first event. 🙂
Why event check-in feels harder than it is
Picture this. You're hosting your first workshop in a hired venue in Cape Town's city bowl, or a studio in Joburg's Maboneng. Twenty guests arrive within the same five minutes. You're alone at the door, scrolling through a screenshot of an order list, and nobody can find 'Van der Merwe' because it was typed in lowercase under a friend's name. The line grows. Everyone gets a little tense, including you.
Twenty guests didn't cause that queue. Queues almost never come from the guests. They come from unclear instructions, unsorted lists, and one person trying to do everything at once. You can fix all three before anyone walks through the door.
This guide is for small events of roughly 10 to 150 guests. You don't need enterprise software. You need a tidy list, a sensible table and a friendly face.
The day before your event: confirm the attendee list
The day before is where event check-in is won or lost. Aim for one final list, with one person responsible for approving changes, so nobody at the door works from a competing version.
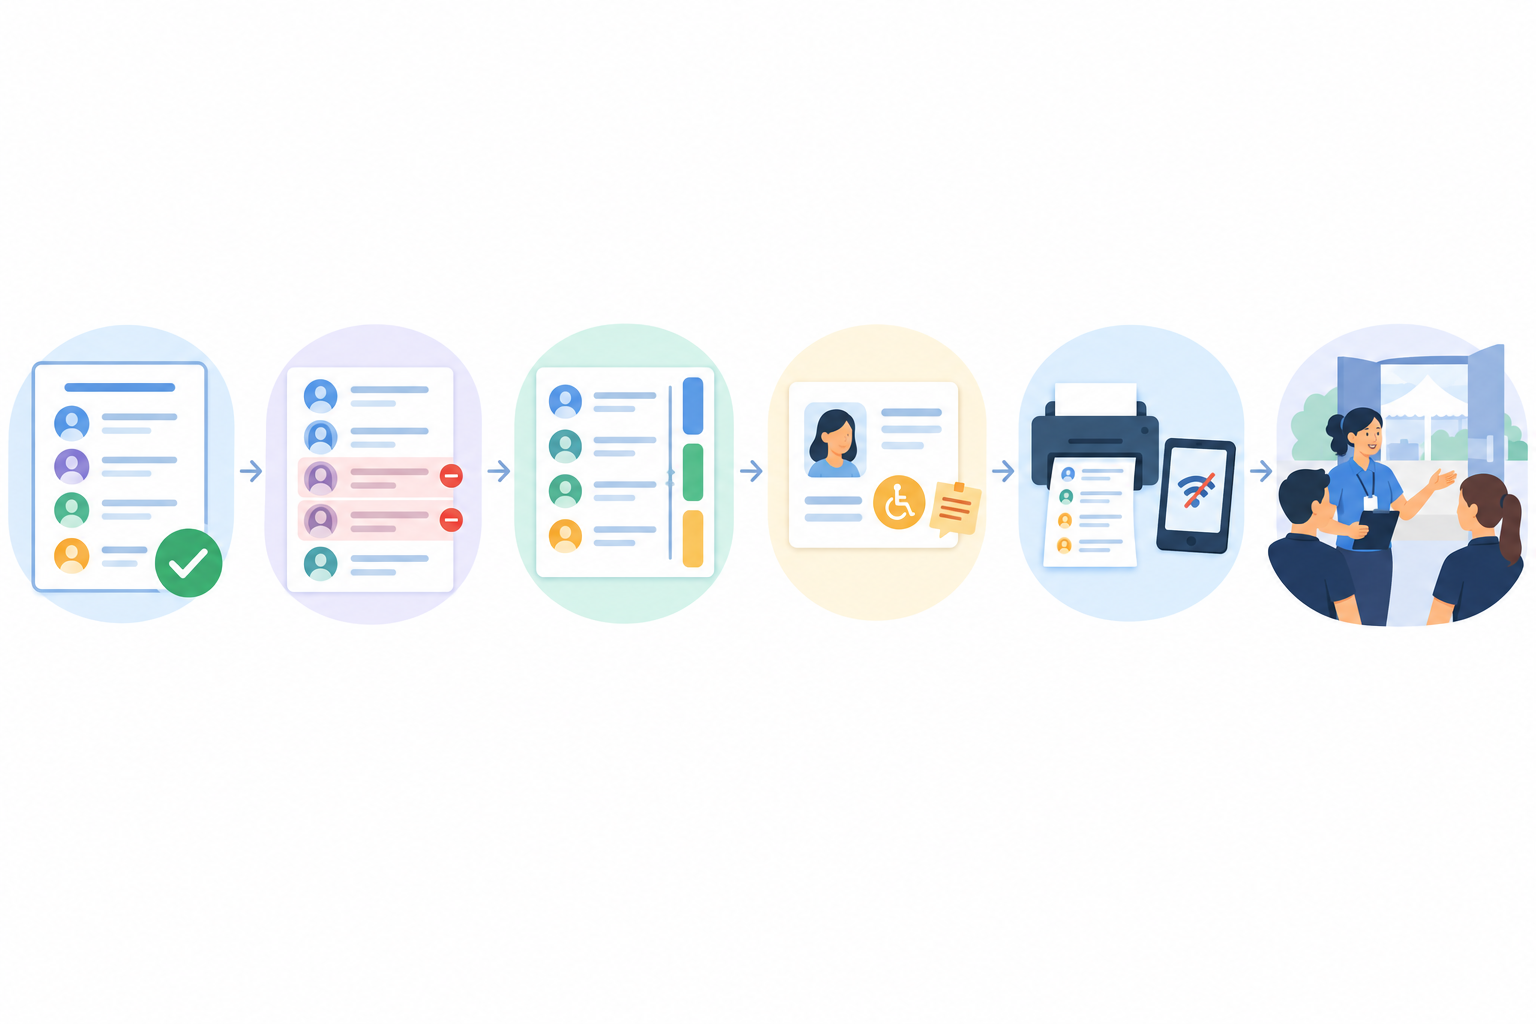
- Pull your final list of paid orders. If you sell through an online store like Shopstar, export or copy the paid orders from your dashboard. Check the total against your venue capacity. If the venue holds 60 and you've sold 58, you know how many door sales you can responsibly allow.
- Check for duplicates and misspellings. Group buyers often book for friends whose names you never see, so expect the odd guest who isn't on the list under their own name.
- Sort the list. Alphabetical by surname works for most events. If you have VIP, general and workshop-only tiers, sort by ticket type first, then surname.
- Flag special requirements. Dietary needs, wheelchair access, parking. Highlight these so your team can act quietly instead of asking guests awkward questions at the table.
- Print one copy and save one offline copy. Save the list to your phone so it opens without signal. Patchy reception and load shedding love to strike at the worst moment.
- Decide who's on the door and who's backup. Two people works well for most small events. One greets and checks, the other hands out materials and handles the tricky cases.
One habit worth building: write the time on your final list ('Final, updated 18:00 Thursday'). If a late change comes in, update the printout by hand and tell the whole door team. It sounds fussy, but it stops two versions of reality from meeting at your table.
What to send guests the day before your event
A good reminder message answers a big chunk of door questions before anyone asks them. Send one message, not five, and put the key details in the first three lines. Write it the way you'd text a friend. 😊
- Date, start time and a suggested arrival time. Ask people to arrive 15 to 20 minutes early.
- The exact address, a pinned map link and parking or e-hailing notes, such as the best Uber or Bolt drop-off point at a busy spot like the V&A Waterfront or Sandton City.
- What to bring. Their ticket or order confirmation on their phone. Ask for ID only if your venue requires it (some office parks and estates do).
- Where to go on arrival, such as 'Look for the table with the green banner.'
- What's included and what isn't, like refreshments versus parking fees.
- A number for a real person who'll answer last-minute questions.
Here's a template you can steal:
Hi [Name]! Tomorrow's the day 🎉 Doors open at 09:00, workshop starts at 09:30. Please arrive by 09:15.
Where: [Venue name, street address]. Map pin: [link]. Parking is on-site (R30 per car). Uber and Bolt can drop you at the main gate.
Bring: your ticket or order confirmation on your phone. Look for the table with the green banner to check in.
Tea, coffee and workshop materials are included. Lunch is not.
Stuck or running late? Call or WhatsApp [Name] on [number]. See you tomorrow!
Send the same text to your door team so everyone works from the same script.
How to set up a simple event check-in point
Your check-in table is the first thing guests see, so where you put it matters more than what's on it.
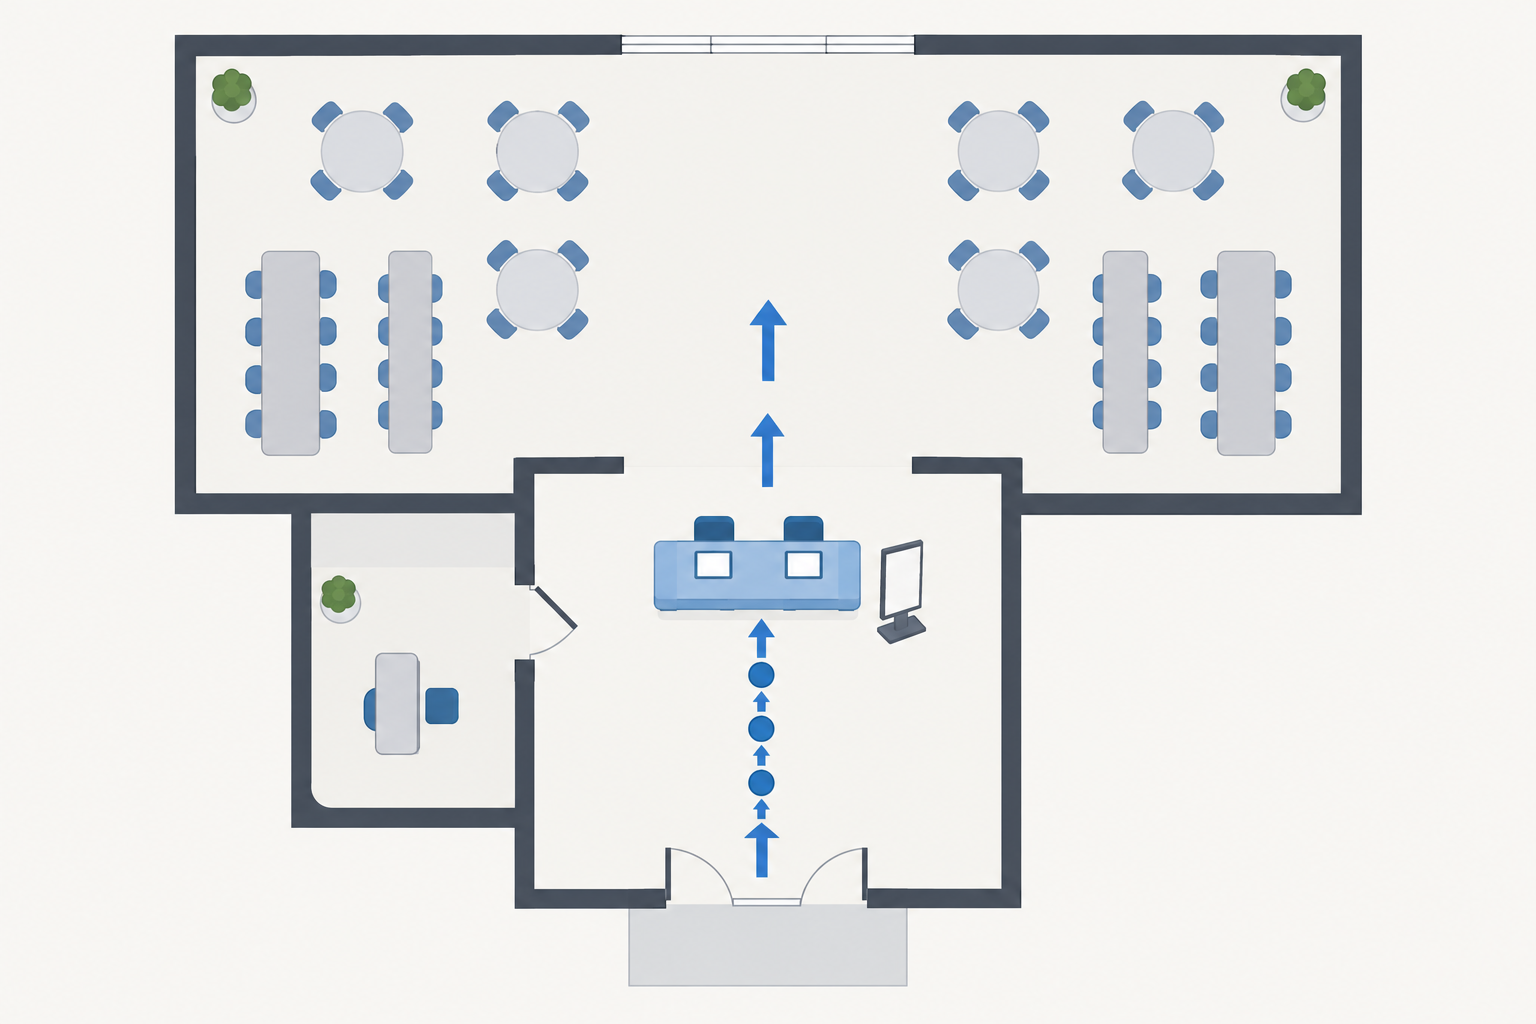
Position it where guests naturally enter. Not hidden around a corner. Leave room for a queue to form without blocking walkways, toilets or other tenants. In older venues with narrow corridors, set the table inside the main room if the venue allows.
Split the line only for bigger crowds. As a rough guide, once you pass about 80 guests, an A to M and N to Z split with big, clear signs can help. Below that, one line with two people is usually faster and less confusing, though your layout and staffing may change the answer.
Your event check-in equipment checklist:
- Printed guest list (face-down or in a folder when not in use)
- Pen or highlighter
- Charged phone with the offline list saved
- Power bank and charging cable
- Name tags or wristbands
- A clearly visible 'Check-in' sign
Load shedding plan. Ask the venue whether they have a generator, inverter or UPS, and whether it covers the entrance and the lights. Charge every device the night before. Your printed list is the fallback that never needs a plug.
Signal plan. Test mobile data at the door the day before. Thick walls in older buildings in Durban or Pretoria can kill reception entirely. If signal is poor, rely on your offline list.
Paper or a live list? Here's my rule of thumb. If you have strong signal and power, use your phone with paper as backup. If either is shaky, lead with paper and keep the phone as your backup.
Greet first, check second. A warm hello and eye contact settle a nervous queue faster than speed alone.
Keep a 'problem corner'. A spot just off to the side for missing names, duplicate tickets or guests who booked under a friend's name. One person sorts it out there while the main line keeps moving.
How to check guests in quickly
Once the table is set, the process is simple. Many small events manage around 15 to 20 seconds per guest or party, but treat that as a rough benchmark. Complex ticket types or a thin team will slow things down, and that's fine.

- Greet and ask for the surname on the booking.
- Find the name. Confirm the ticket type and how many people are in the party.
- Tick them off. Use a highlighter on paper, or mark your phone list, so the same ticket can't be used twice.
- Hand over name tags or materials and point them to where to go next.
- Keep the chat short. Invite longer questions once the doors are cleared.
Two tricks help a lot. First, ask for the name used at booking, not the name on the person's ID, because people book for others all the time. Second, batch group arrivals under one name. If six colleagues arrive together and one person booked all six tickets, check them in once instead of six times.
Only ask for ID if you genuinely need it. POPIA's principle is to collect only what's necessary, and a booking name or reference is normally enough.
How to verify tickets without stress
Your order record is the source of truth. If the guest's booking name appears on your final list and the ticket type matches, they're in. Keep it friendly and keep it simple.
Lost ticket? Don't make the guest feel foolish. Ask for the booking name, and if you can't find it, ask them to tell you the email address or cellphone number they used at booking. Let them say it rather than reading details off your list, because that protects other people's information. If it matches the order record, check them in. If anything still feels uncertain, move to the problem corner and have the organiser, or the booking platform's order records, settle it privately. Don't collect extra personal details just to make a decision.
Don't ask guests to show payment details. No bank statements or card photos. You never need anyone's banking information at the door.
Screenshot or original confirmation? Accept either, as long as it matches an order on your list.
Someone says they paid, but you can't find them. Before refusing entry, check:
- Spelling variations (Mohammed, Mohamed, Muhammad)
- A friend's or colleague's name, in case someone else booked
- A different email address or cellphone number
If you still can't find them, stay kind: 'I can't see it on my list just yet. Let's pop over to the side so I can check a few more things, and I'll get you in as soon as I can.'
Duplicate ticket? If two people arrive with the same order, check in the first and handle the second in the problem corner. It might be an innocent forward of the confirmation to a friend, or a genuine mix-up.
Resending a confirmation after the event has started is far easier than arguing at the door. When in doubt, be generous and sort it out afterwards.
Handling walk-ins, door sales and no-shows
Walk-ins can be a nice bonus, but only if you control them. Decide in advance whether you'll accept them, how many, and who authorises it. Otherwise you'll end up over capacity and short on catering.
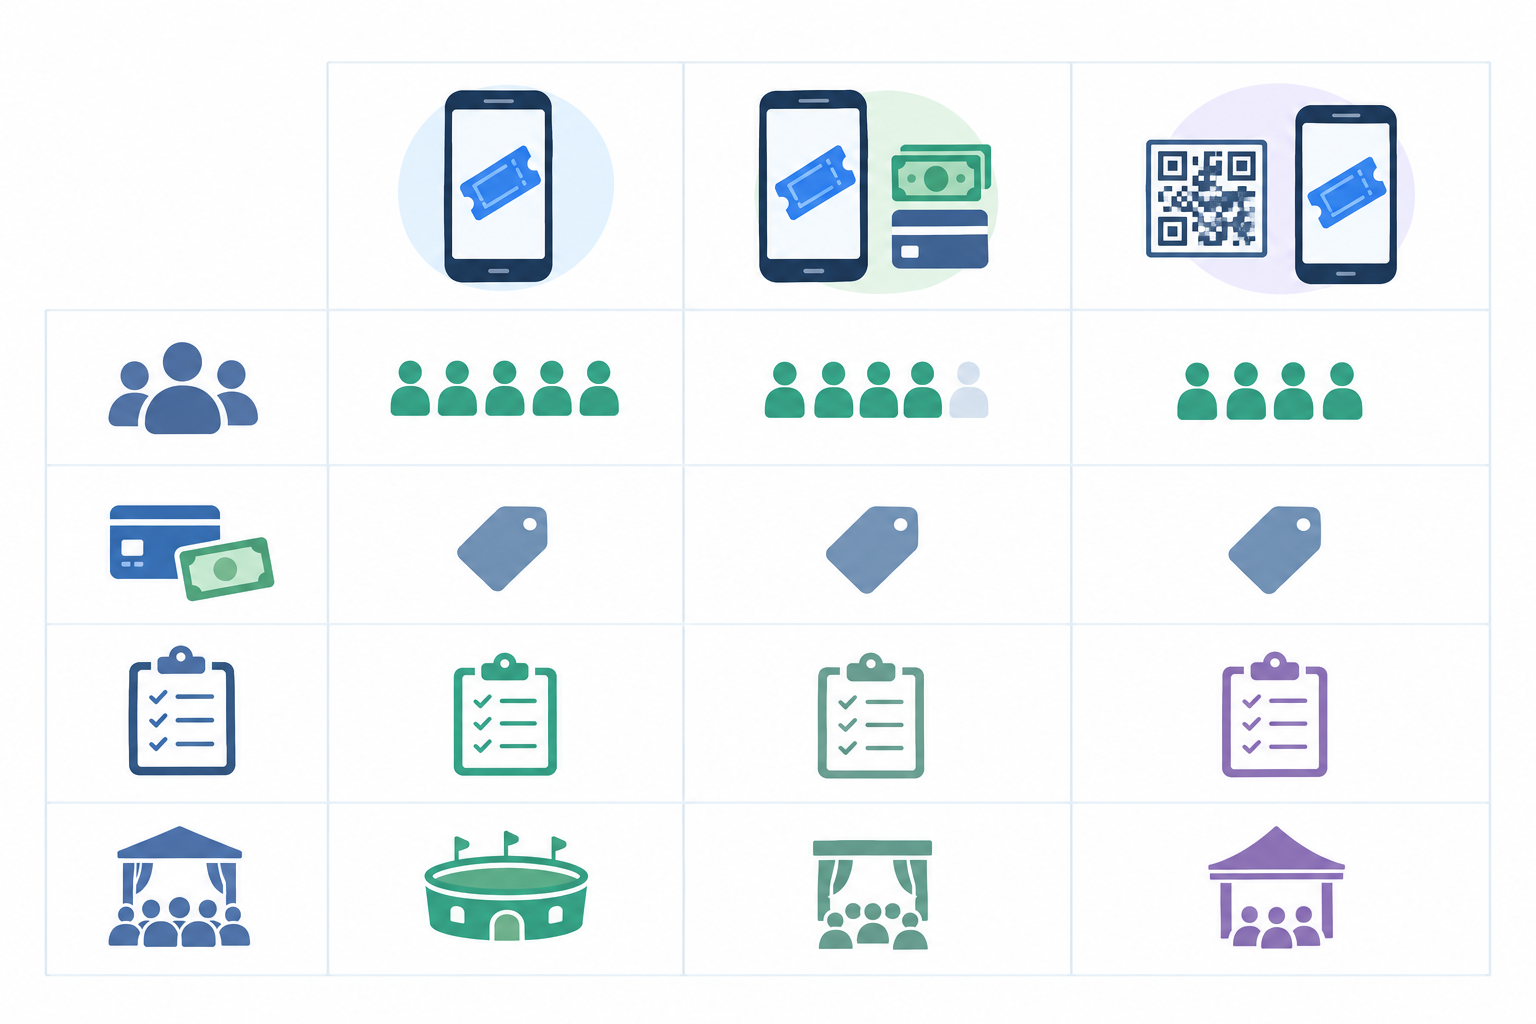
| Pre-sale only | Limited door sales | Door sales via QR code or link | |
|---|---|---|---|
| Headcount accuracy | Highest | Good, if you set a cap | Good, since every sale is logged |
| Payment handling | None on the day | Needs a payment method at the door | Guest pays on their own phone |
| Record-keeping | Clean | Can get messy | Clean, all in one place |
| Price example | R300 online | R300 online, R350 at the door | R300 or R350 via your ticket page |
| Best for | Fixed catering, tight venues | Flexible venues with spare seats | Small events that want walk-ins |
For most small hosts I'd lean towards the third option. Put a QR code on your sign that sends walk-ins to your online ticket page, so every sale lands in the same place as your pre-sales and you skip the cash-handling headaches. Before you commit, check which payment methods your ticket page supports and what each sale costs you in fees. Your platform's current pricing page is the place to confirm that, and it's worth working out the cost on a R300 ticket before you set your door price.
Two practical rules. Keep walk-in sales away from your pre-registered line, so a sales question never slows down someone who just needs a tick. And only sell at the door when you can verify remaining seats. If you're full, pause sales and say so clearly and kindly.
Records, SARS and VAT. Keep clean records of all ticket income, because SARS expects you to declare it. If you're VAT-registered, remember that VAT in South Africa is 15%, so check how your ticket prices and invoices handle it. If you're unsure whether you need to register, a quick chat with an accountant is money well spent.
No-shows. Some people won't arrive, and that's normal. Free events tend to see a bigger drop-off than paid ones, sometimes 5 to 15%, but it varies a lot by audience and event type. Treat that as a planning guide, not a promise. Order catering with a small buffer, set a clear arrival cut-off if you plan to release unclaimed places, and decide in advance whether you'll offer refunds or transfers.
Communicating event changes to attendees
Things change. A venue falls through, a speaker gets sick, a storm rolls in over Gauteng. How you tell people matters as much as the change itself.
- Tell everyone as soon as you know. Use email or WhatsApp, and put the change in the first line: 'Venue change: tomorrow's workshop is now at...'
- Pick one source of truth. Update your ticket page and repeat the update there, so guests don't get conflicting instructions.
- Say what changes and what doesn't. Is the ticket still valid? Does the start time move? Who do they contact?
- Publish a clear refund and transfer policy before people buy, and stick to it. Allow transfers where sensible and update your list.
- Keep a record of what you communicated, to whom and when, in case of disputes.
- Know your responsibilities. In South Africa, the Consumer Protection Act (CPA) and the Electronic Communications and Transactions Act (ECTA) both come into play when you sell tickets online. ECTA's cooling-off rules have exceptions for services like entertainment or leisure booked for a specific date, so don't tell buyers they automatically get a cooling-off period. The CPA also covers fair terms and cancelling bookings and reservations. I'm not a lawyer, so check the specifics for your event or get advice if you're unsure.
On your ticket page, add a short 'If something changes' paragraph. For example: 'If we need to change the date or venue, we'll email and WhatsApp every ticket holder as soon as we know. You can transfer your ticket to a friend, just reply with their name.' That one paragraph prevents a lot of grief.
Keeping guest information safe under POPIA
Your guest list is full of personal information: names, phone numbers, emails, maybe dietary needs. The Protection of Personal Information Act (POPIA) applies even if you're a one-person host running a Saturday workshop. Don't let that scare you. A few simple habits cover most of it.
- Collect only what you need. Avoid collecting ID numbers or copying ID documents unless there's a specific, justified reason.
- Protect printed lists. Keep them face-down or in a folder, not open where other guests can read them.
- Limit who sees the list to your door team.
- Delete when done. After the event, shred printouts and delete local copies once you no longer need them.
- Be upfront about how you'll use contact details. Entry administration and marketing are separate purposes. If you want to send future invitations, say so clearly and give people an easy way to opt out. Buying a ticket doesn't automatically mean someone agreed to promotional messages.
- Don't share your list with sponsors or partners without clear consent.
- If a list is lost or exposed, act promptly. Try to contain it, note what happened, and check the Information Regulator's current guidance on whether and how to notify the Regulator and the people affected. Don't assume a small slip doesn't count. If you're unsure, get advice early.
The penalties are real, even if you'll probably never see them. POPIA allows administrative fines of up to R10 million for serious non-compliance, though that's the ceiling and not what a small host faces for a minor slip. Keeping data tidy and secure is simply part of running a proper event, and fewer loose copies means fewer places for things to leak.
After the event: follow up with attendees
The event doesn't end when the last guest leaves. A good follow-up is what makes people want to come back.
- Within 24 hours, send a thank-you with a photo or a key takeaway from the day.
- Share what you promised: slides, recordings or a resource pack.
- Ask for feedback. Two or three quick questions, and a link to leave a Google review.
- Reconcile your list. Note who attended, who didn't and who walked in, then compare to ticket sales. Clean numbers help with SARS and with planning your next event.
- Invite them back, but only contact people who agreed to hear from you, in line with POPIA.
- Write down what went well and what you'd change while it's fresh.
Quick event check-in checklist
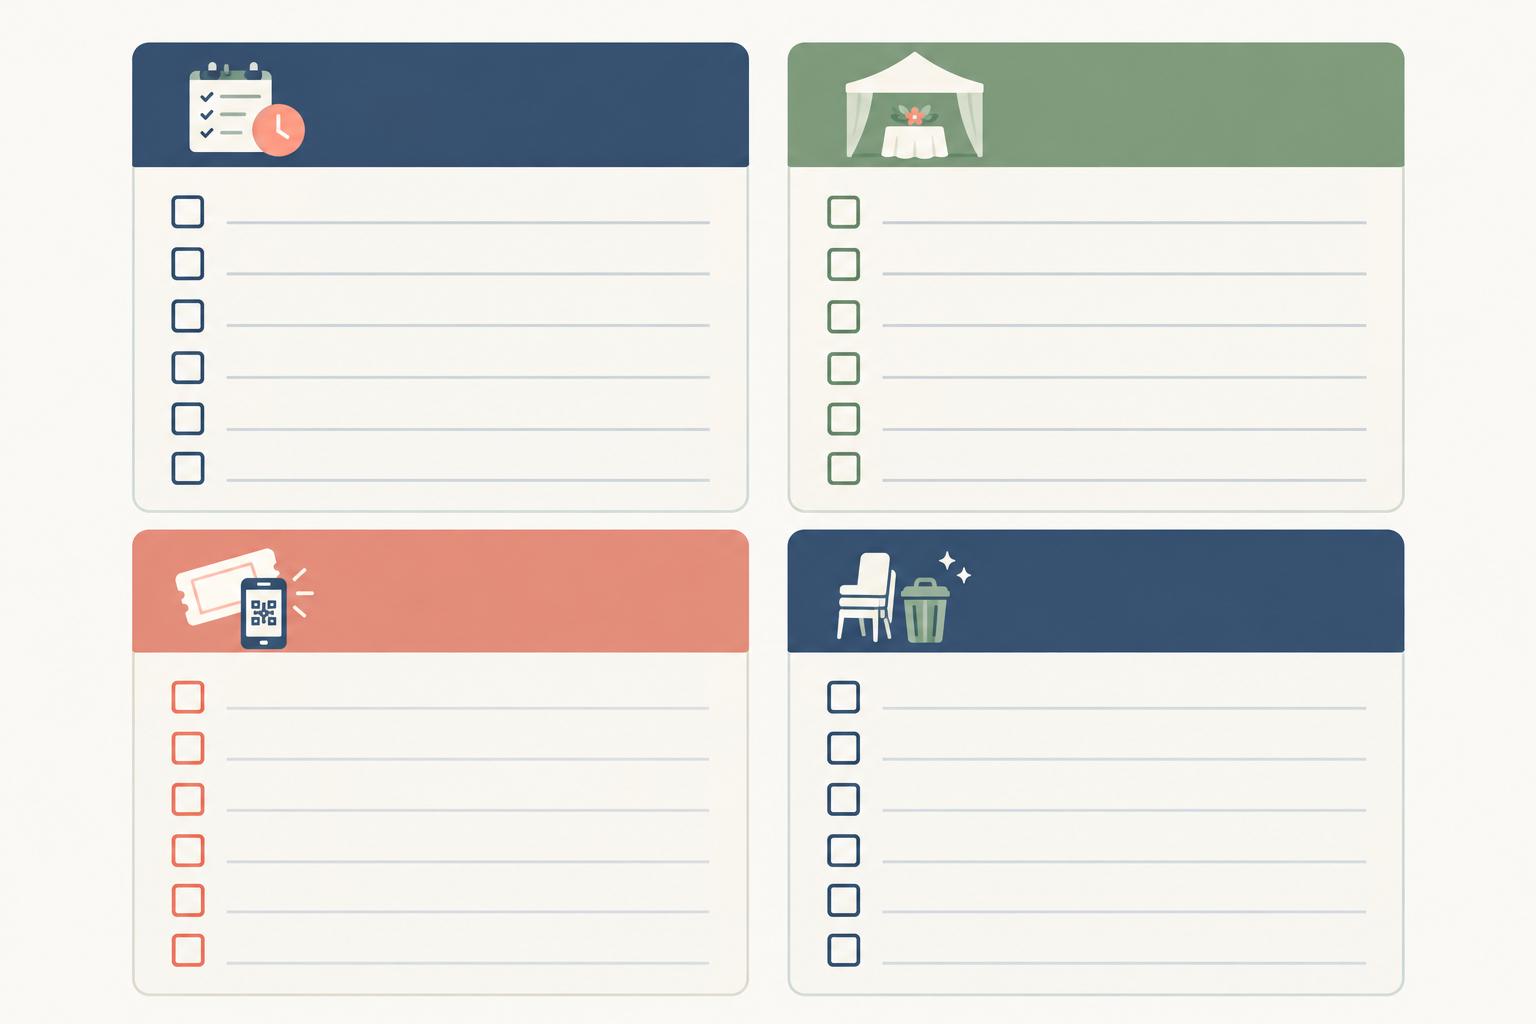
- Day before: final list printed and saved offline, reminder sent, door team briefed.
- Setup: table and signs up, power bank charged, problem corner ready.
- Doors open: greet, confirm name, tick off, point the way.
- After: thank-you sent, numbers reconciled, records kept safe.
The first event is the hardest, and I won't pretend otherwise. But a simple setup and a friendly face will get you further than you'd expect, and most guests remember how welcome they felt far more than how fast the line moved. If you'd like help building a ticket page before the big day, Shopstar's support team can help you get set up. 🎉
Event check-in FAQ
How do I check people in quickly at a small event?
Prepare a sorted guest list the day before, ask guests to have their booking name ready, and use two people at the door if you can. Batch group bookings under one name.
What if someone lost their ticket?
Find their booking by name, or ask them to tell you the email or cellphone number they booked with and match it to your order record. If it's still unclear, resolve it privately in your problem corner.
Should I allow door sales?
Only if you have spare capacity. Cap the seats, take payment through your online ticket page so it's recorded, and keep clean records for SARS.
What should I send guests the day before the event?
One short message with the start and arrival time, address and map pin, parking tips, what to bring, where to check in and a contact number.
Do I need special software for event check-in?
Not for most small events. A clean list, a printed backup and a friendly person at the door are enough until your numbers reach the hundreds.
How does POPIA affect my guest list?
It applies to any personal information you collect. Collect only what you need, keep the list secure, delete or shred it afterwards, and only send marketing to people who agreed to it.